Difference between revisions of "Installation"
| [unchecked revision] | [unchecked revision] |
| Line 42: | Line 42: | ||
When logging on as administrator, you will be prompted for the access data. Server name localhost and user name ''admin'' are preset; simply click on OK. If asked whether to trust MailStore Server, click on ''OK'' as well. | When logging on as administrator, you will be prompted for the access data. Server name localhost and user name ''admin'' are preset; simply click on OK. If asked whether to trust MailStore Server, click on ''OK'' as well. | ||
| − | [[File:gsta_login_01.png|center| | + | [[File:gsta_login_01.png|center|350px]] |
== Installing a License == | == Installing a License == | ||
Revision as of 09:15, 16 June 2010
Installing MailStore
The chapter "Getting Started" guides you through the installation process of MailStore Server and demonstrates its basic functionality using several examples.
Please note: Information about the installation of updates is available in chapter Updates.
Choosing a Computer for the Installation of MailStore Server
The MailStore server can be installed on any Windows PC. Neither server operating system nor database system is required. An overview of supported operating systems can be found in chapter System Requirements.
Installation on an existing server
MailStore Server can be installed on an already existing server PC without any restrictions. Although not required, a concurrent installation on a Microsoft Exchange server is possible without any restrictions as well. No changes are made to the Exchange server. Should the capacity of the current computer used for archiving reach its limits, the entire archive can be moved to another machine within minutes.
Tips for the test mode To test MailStore Server, it can be installed on any workstation PC. Operation in a virtual machine (e.g. VMware) is possible without any restrictions as well.
Starting the Installation
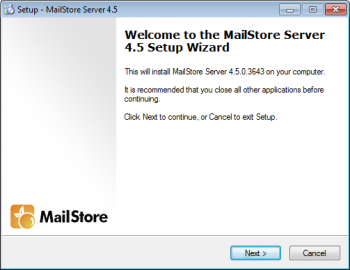
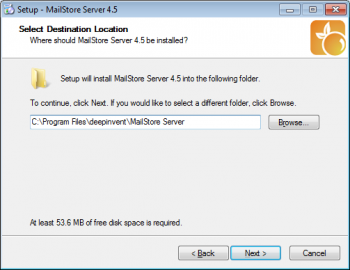
To start the installation process, double-click on the downloaded setup file. This is a regular Windows installation; simply follow the instructions on the screen.
Choosing a Directory
During the installation you will be prompted for choosing a storage location for the master database. This will be the directory in which the actual email archive will be stored. The following destination folder is suggested:
C:\MailArchive
You can accept the default folder or change the directory; you will still be able to change the directory after installation through MailStore's Administrative Tools. Should you plan to store on a Network Attached Storage (NAS), the chapter Using NAS Devices will provide with more information on this.
Starting MailStore
After successful installation, a new MailStore Client icon will appear on the desktop; simply double click this icon to start MailStore.
Background Information: With MailStore Client, a Windows application, users can search the archive and view archived emails. The administration of MailStore Server is also done through MailStore Client. Therefore, when installing MailStore Server, an installation of MailClient is automatically included as well.
Loggin On as Administrator
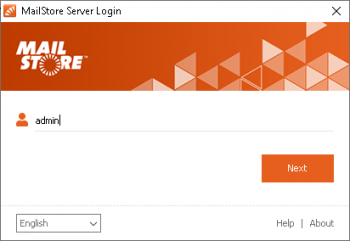
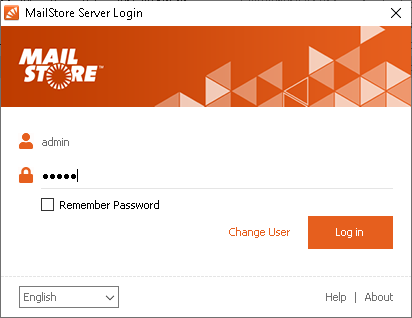
When logging on as administrator, you will be prompted for the access data. Server name localhost and user name admin are preset; simply click on OK. If asked whether to trust MailStore Server, click on OK as well.
Installing a License
If MailStore Server was installed for the first time, the license manager will open after logging on as administrator. Here you can install a free 30-day test license or an already purchased license. Information about obtaining license files is available in chapter Licensing.
Changing the Password (Recommended)
To ensure security, the administrator password should be changed after the first start of MailStore: simply click on Administrative Tools and select Change Password.
Important notice: For security reasons you will not be allowed to log on to MailStore as user admin from any other computer, as long as the password is set to admin.
